Disclaimer: This post contains affiliate links. Should you make a purchase as a result of clicking these links, I will make a small commission. Thanks in advance for supporting ToBNatural!
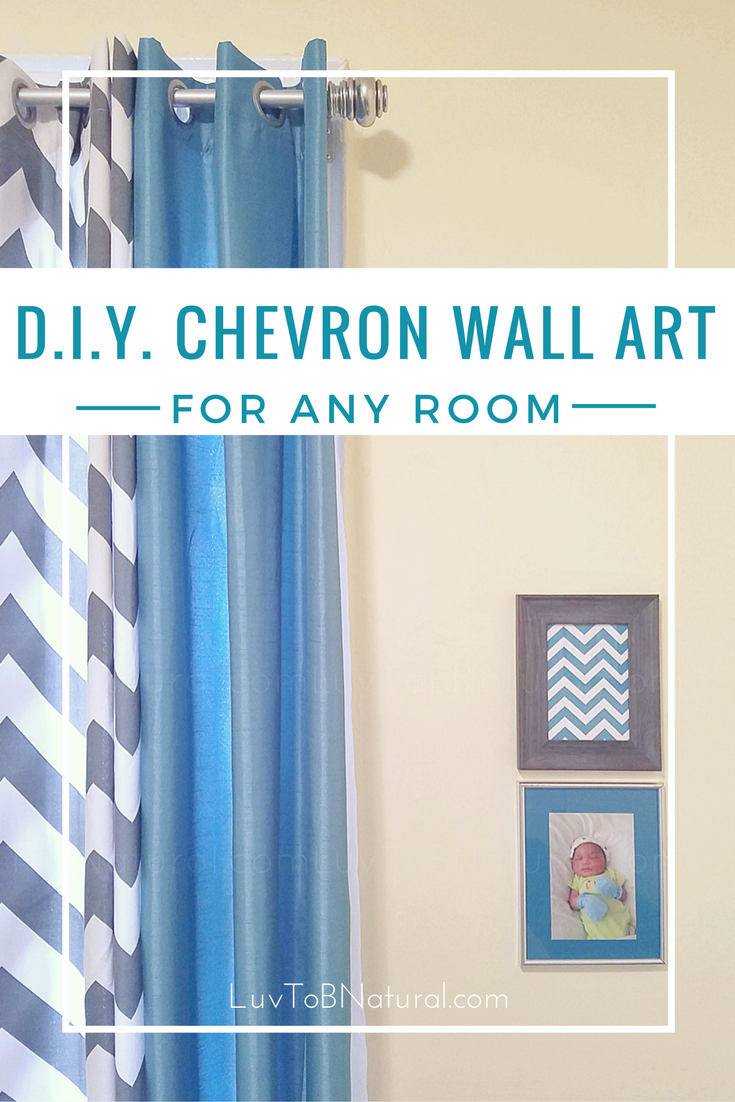
It’s been a little over a year since I began working on the little one’s room… and he’s gone from baby to toddler! *weeps* Believe it or not, after all this time, there are still a few finishes touches I want to make. But before I fill you in on where I am now and what I have planned, I wanted to share this quick and SUPER easy DIY chevron wall art which can really be done for any room!
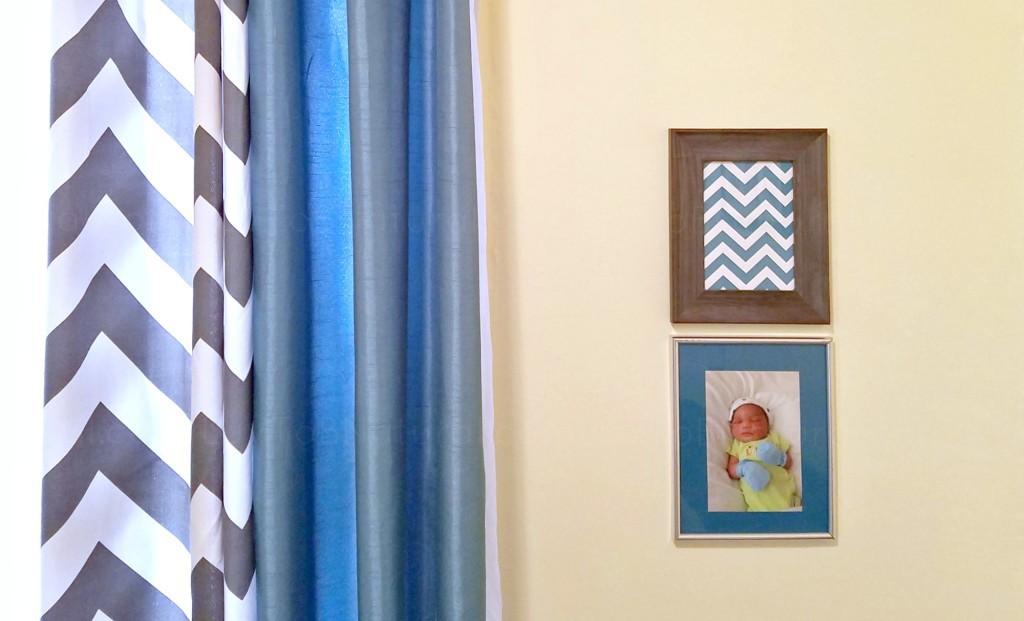
The teal mat on that bottom photo is a DIY. Click HERE to see how I did it!
Over the past year, I’ve made progress with finally getting miscellaneous things out of Micah’s room (cuz we SO used it partially for storage as you can see here) and in their respective places throughout the apartment, organizing the room a little better and getting a couple more things on the wall.
I wanted to paint something for the pookie’s room but with little time and not wanting lingering paint fumes in the apartment, I opted to cheat a little. There are many ways you can DIY chevron wall art but if you want something quick and low-cost yet somewhat polished-looking, try this!
What You’ll Need
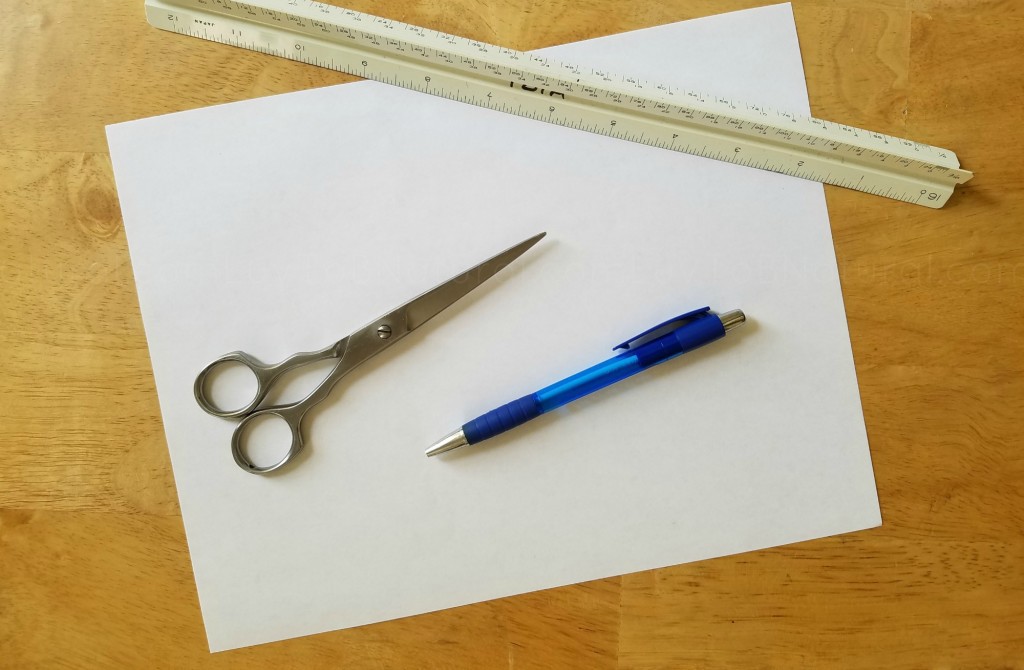
- 2 pieces of white print paper
- color printer with plenty of ink
- picture frame
- scissors
- ruler
- pen or pencil
- access to Pinterest
First Things First
Before you start, make sure you have enough color ink in your printer. There’s nothing worse than running out midway or having the print job come out all jankety because you’re running low on ink. We want these prints to be nice and bright!
If you’ve got an internet-ready printer, HP Instant Ink solves all that! You save up to 50% on printer ink replacement, your first month is absolutely free and your ink comes straight to your door BEFORE you run out! This comes in handy when the kiddies’ school projects pop up throughout the year or for your own crafting and business needs as a work-at-home mom. Check out all the deets here!
Getting Started
– Get a Frame
Most of the frames in Micah’s room are wooden so I thought a grey stained (my spellings of “grey” vary but I’ve settled on this one LOL!) wooden frame I found at Home Goods was a great way to continue that theme while including the color I needed. Here’s a similar one if you’re interested.
– Head to Pinterest
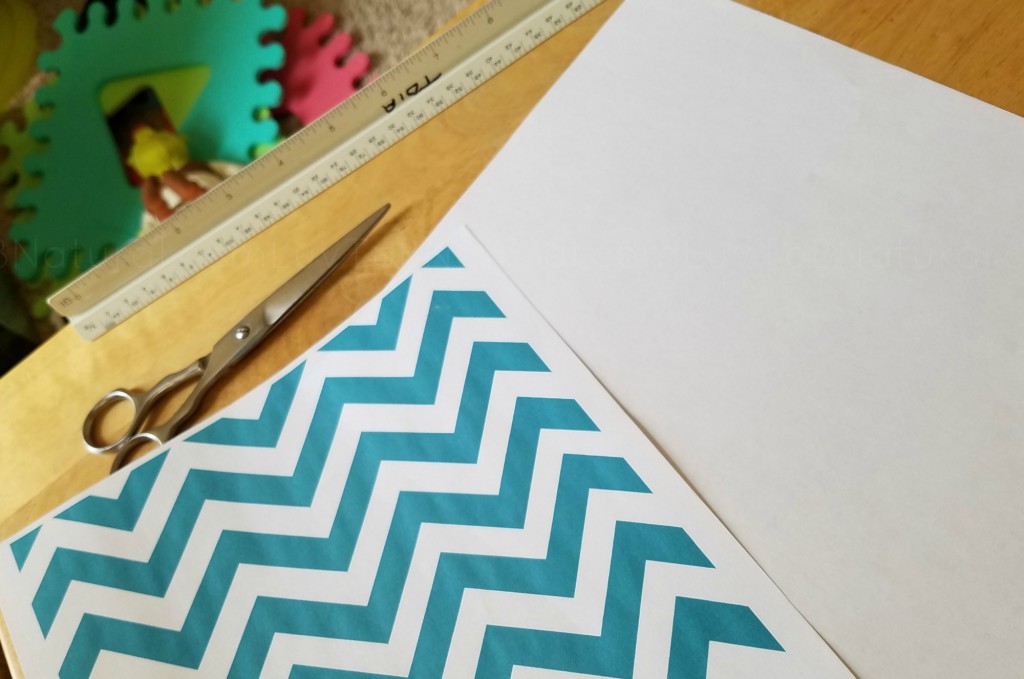
Plug in keywords for your desired printable pattern (make sure you specify FREE). Micah’s room has a teal with grey chevron theme but I decided to switch it up and do teal chevron against the grey frame. You can find just about any type and size chevron pattern you want! I found one that came closest to items already in the room, played around with the color a bit to get just the right teal and got to printing!
Cut to Size & Mount
Be sure to let the ink dry first then measure out and cut both your print and white paper to size. You’ll notice my print doesn’t touch the edges so I drew a line where I wanted the pattern to begin and measured from there. My frame size is 5×7 in. but I cut ¼ in. extra both ways to make sure to allow for possible cutting mistakes. Don’t wanna come up short!
Low-Cost DIY Wall Art for ANY Room! #homedecor Click To TweetOh, and unless you have really thick paper, the extra piece is just to add an extra layer so you won’t be able to see through to the back of the frame. 😉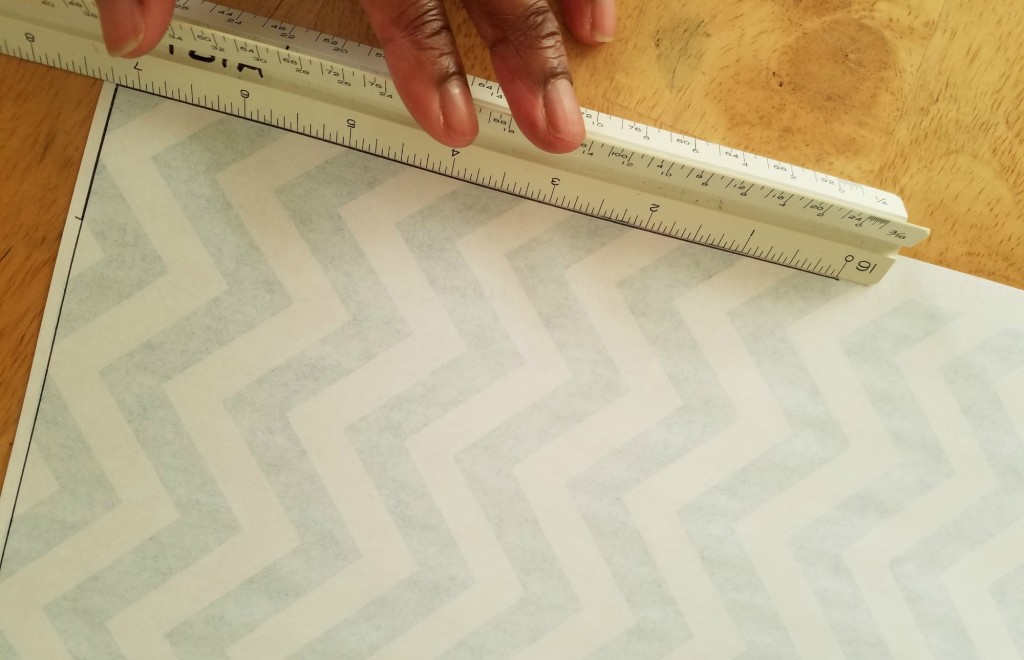
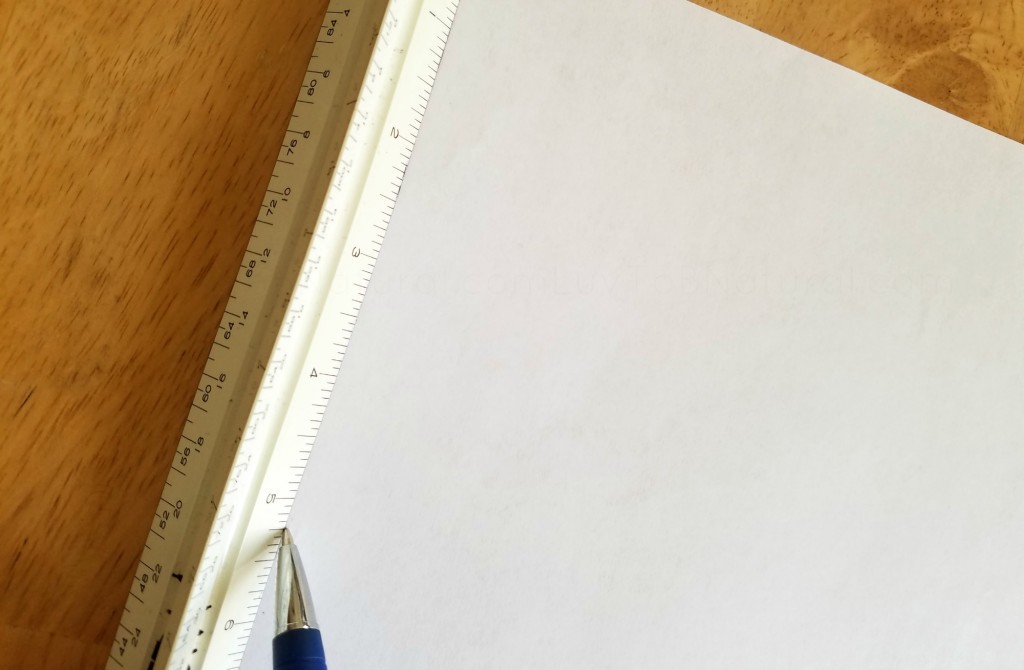
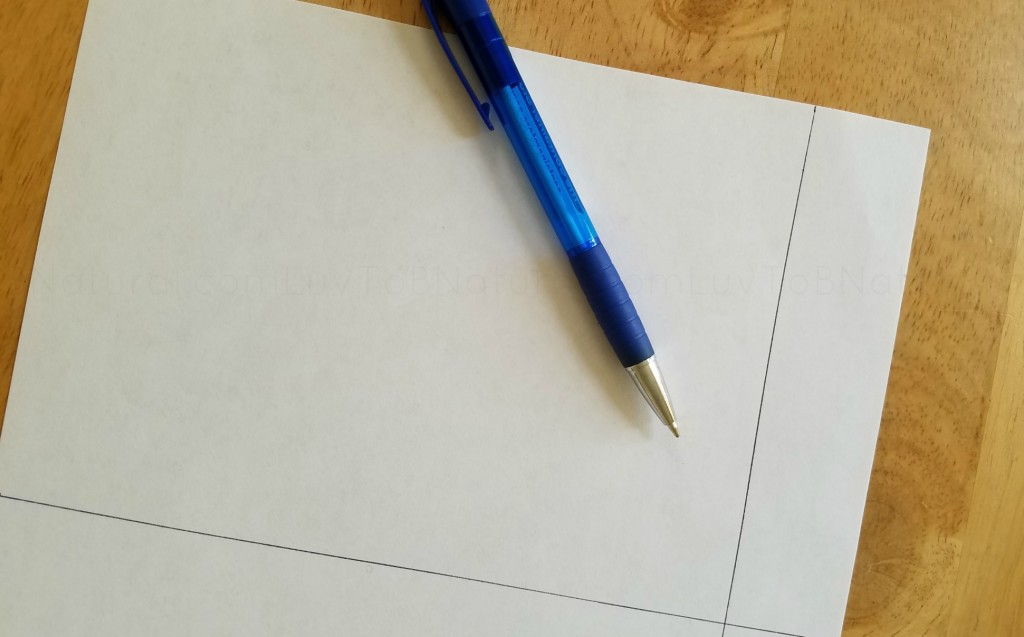
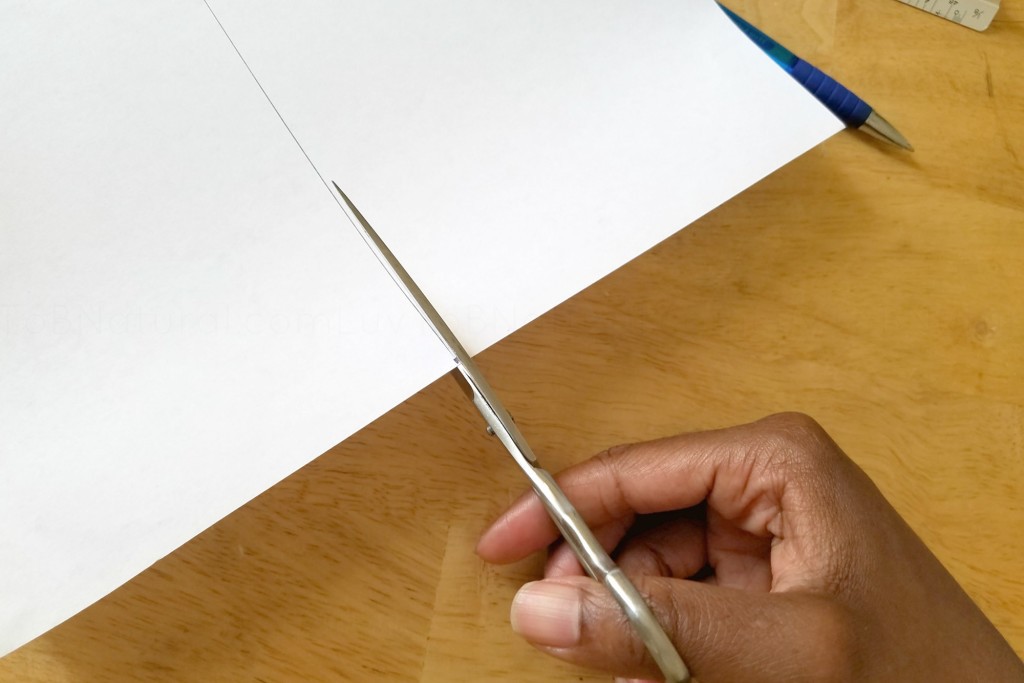
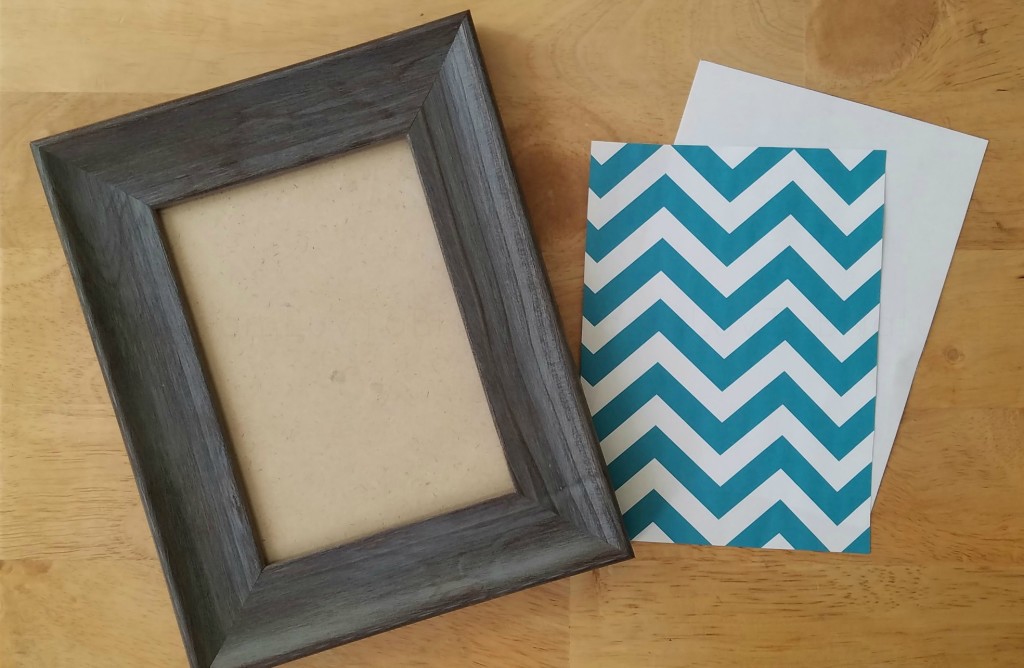
A little trick I used to make sure the extra ¼ in. of paper didn’t create bulk was to insert the print flush against one side with the extra coming up the other side, then doing the opposite with the plain sheet. Hopefully, you see what I mean from the pics.
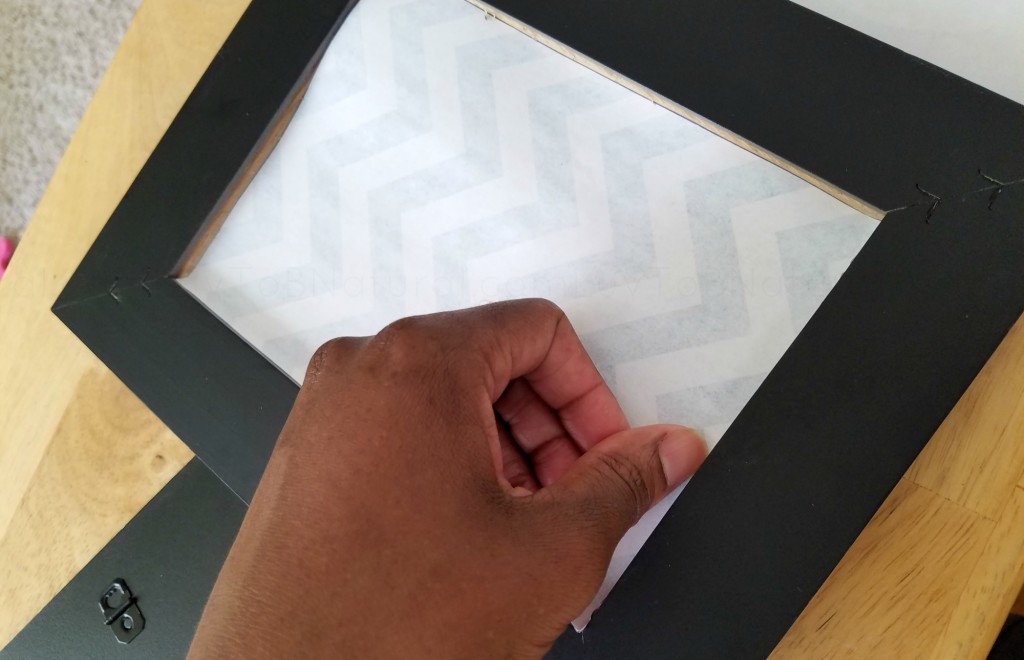
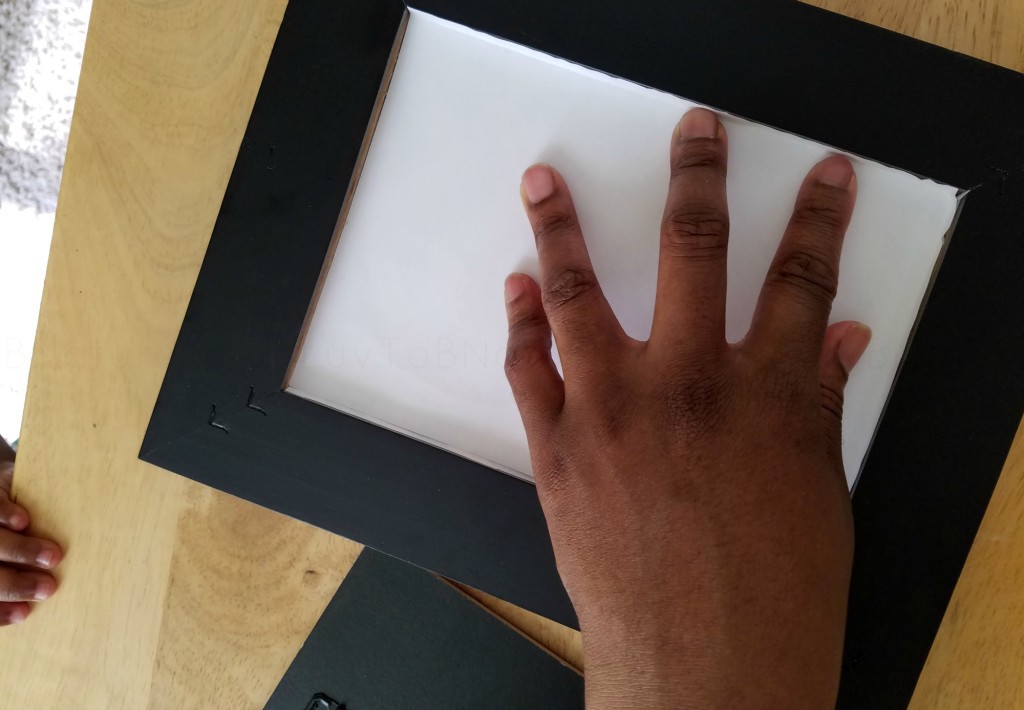 That’s it, simple DIY chevron wall art for your toddler’s room… or ANY room! All you had to spend money on (providing you already had the tools) was the picture frame! I’m sure you’ll agree that I could use another photo or something to create a trio going up this wall and that’s exactly what I have planned. Stay tuned!

SO CUTE! Omg! #blmgirl
Christina Patrice recently posted…An Open Letter Apology to Sulfates