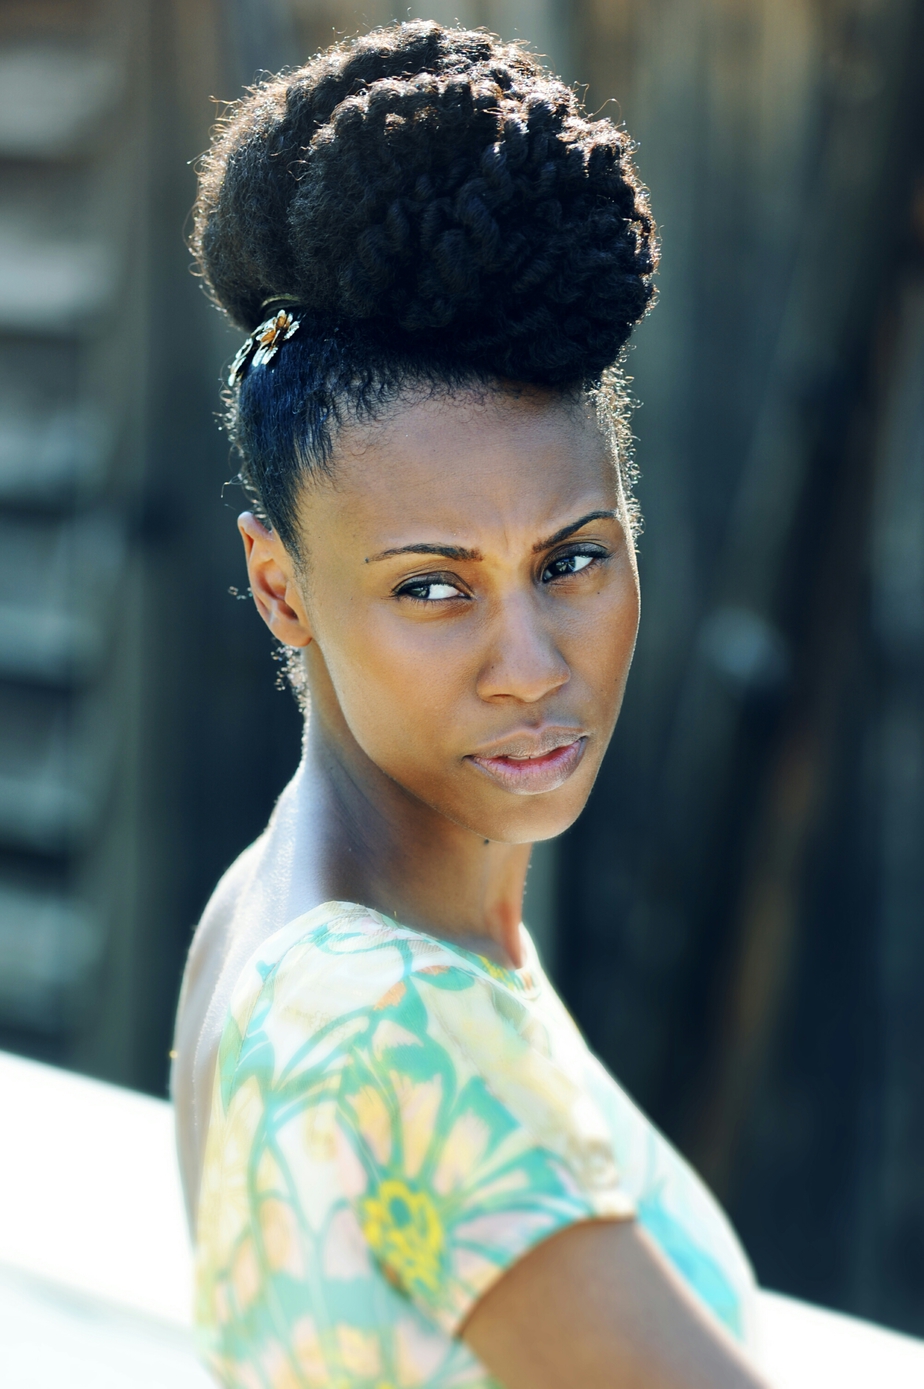
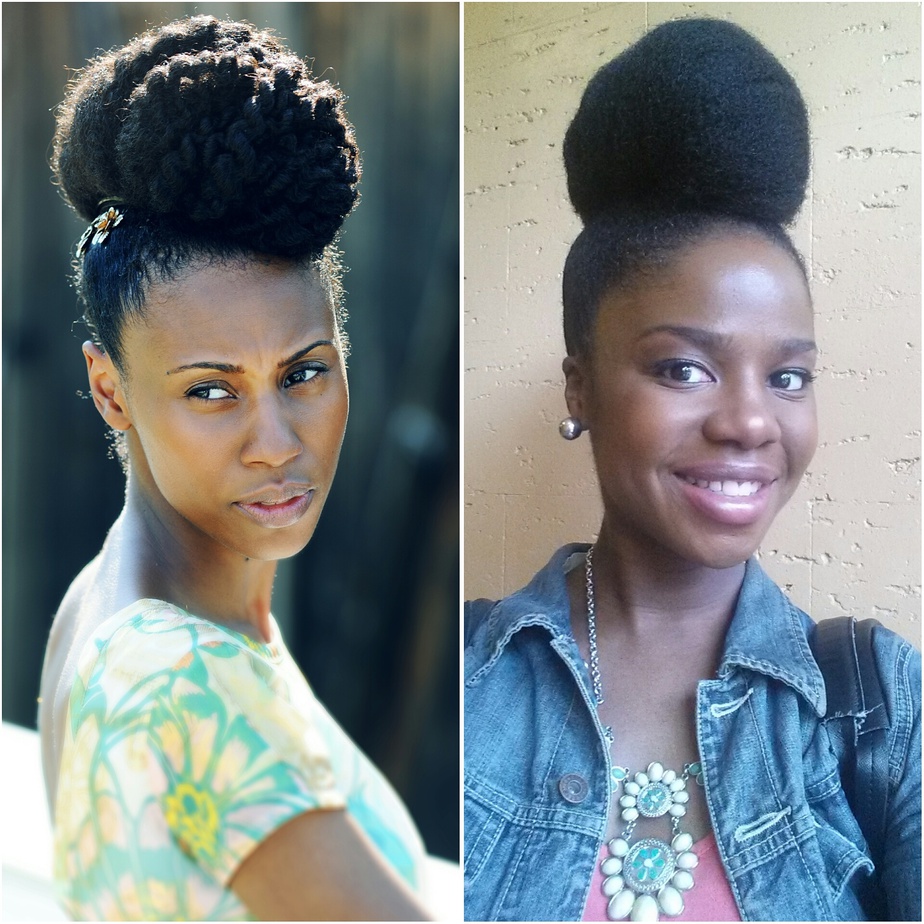
If you’ve been preggers, you know how much energy you DON’T have for the normal, everyday stuff. You especially don’t have the energy to be spending a whole day on your hair to make it look like something! This being the case, I decided to do a quick, simple rolled bun for my maternity photo shoot which was inspired by v/blogger Cassandre Beccai.
Lovely, isn’t it?! From the moment I first saw this take on the high bun a few years back, I knew I had to do my own version at some point. This was my chance!
Now, while I would have loved to have filmed a tutorial for you all, I just didn’t have the time. I will, however, break down the steps with the hope that you’ll be able to catch on until I’m able to get back into the tutorial filming game. 🙂
Cassandre’s hair is long & thick enough to produce this style all on its own. I, on the other hand, need a little help. Marley Hair (sometimes labeled Afro Marley or similar in stores) would have been a nice option to get that same textured look she has going on but I opted for my Cuban Twist Hair instead… just because.
1. After cleansing and moisturizing my hair the day before, I stretched my hair via blow-out by simply holding the end of the hair taut and applying medium heat up and down the shaft, otherwise known as the “tension method”. You may stretch your hair however you’d like to, with or without heat.
2. Using my good ole bristle brush, I put my own hair up into a bun. EcoStyler Olive Oil Gel was used to smooth the edges around the front, back and sides.
3. To make sure everything stayed smooth and laid flat, I wrapped a large scarf (folded into a triangle then folded again to create a long, narrow shape) around my head from back to front, letting it set for about twenty minutes.
4. After removing the scarf, I then attached the Cuban Twist Hair to my bun with a ponytail holder (see this pictorial or this video tutorial for a visual of how I attach the hair) so that the hair fell to one side.
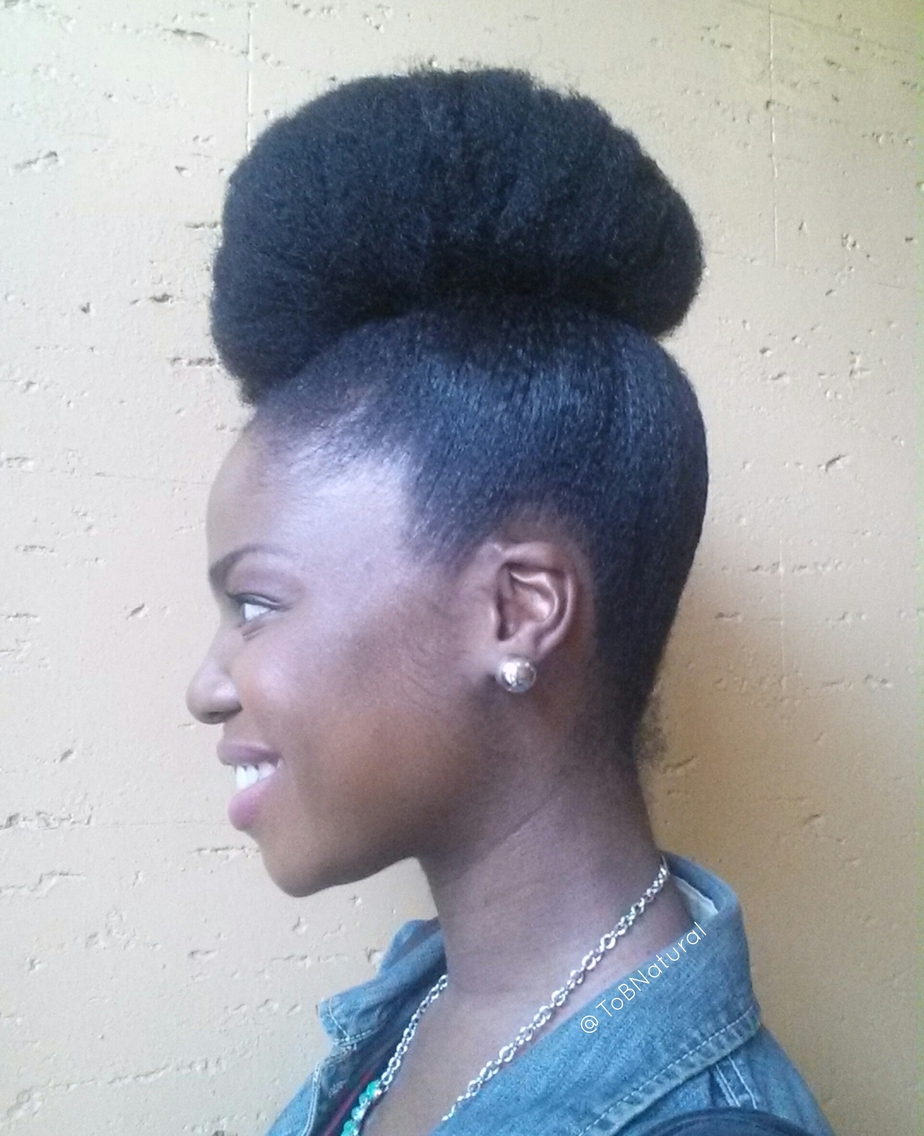
5. Using a mixture of Bobby pins and hair pins, I secured the hair in place on the one side to anchor it.
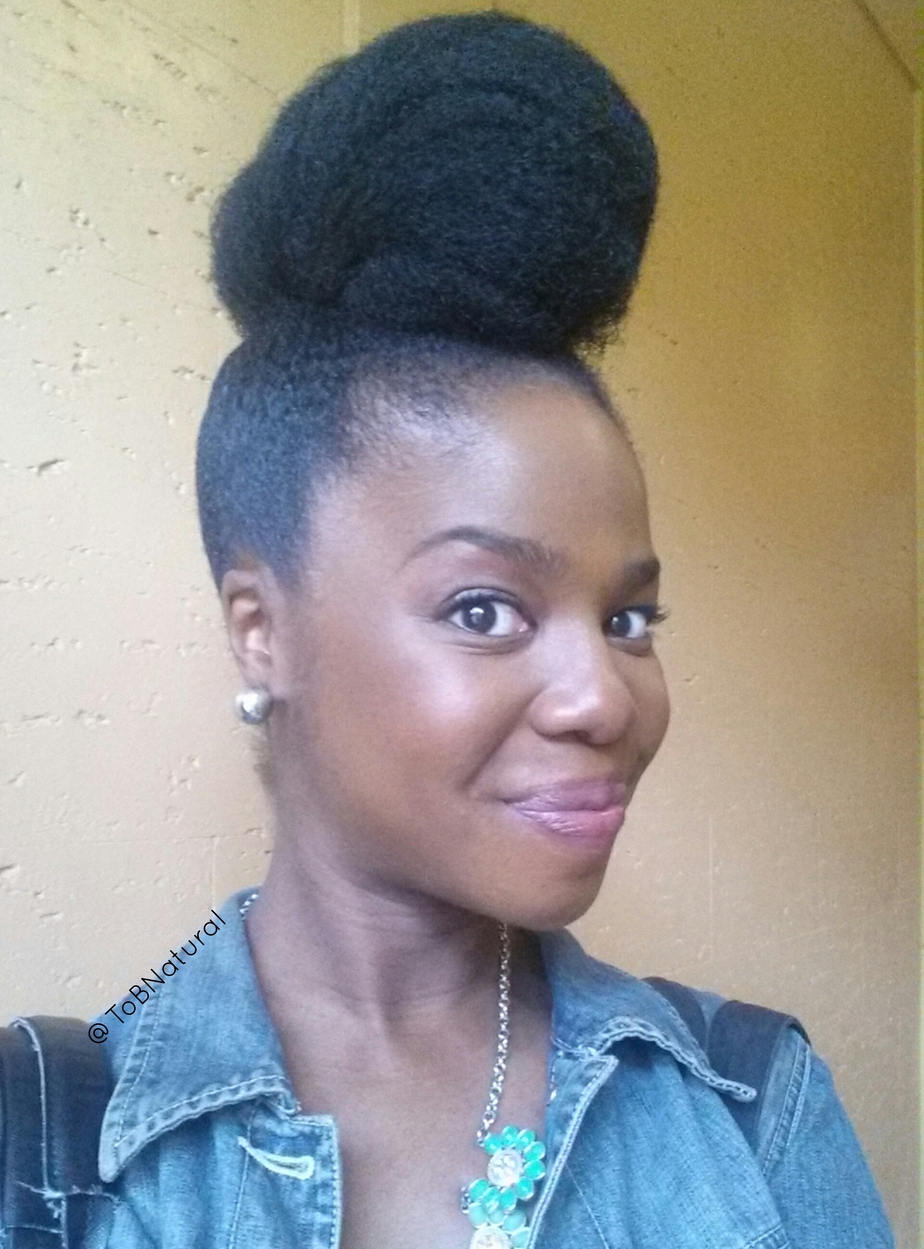
6. To create the bun, I simply held the Cuban Twist Hair straight up and rolled it downward over my own hair to the opposite side and pinned it under to secure. I played with it, pinning as I went along until I achieved the desired shape.
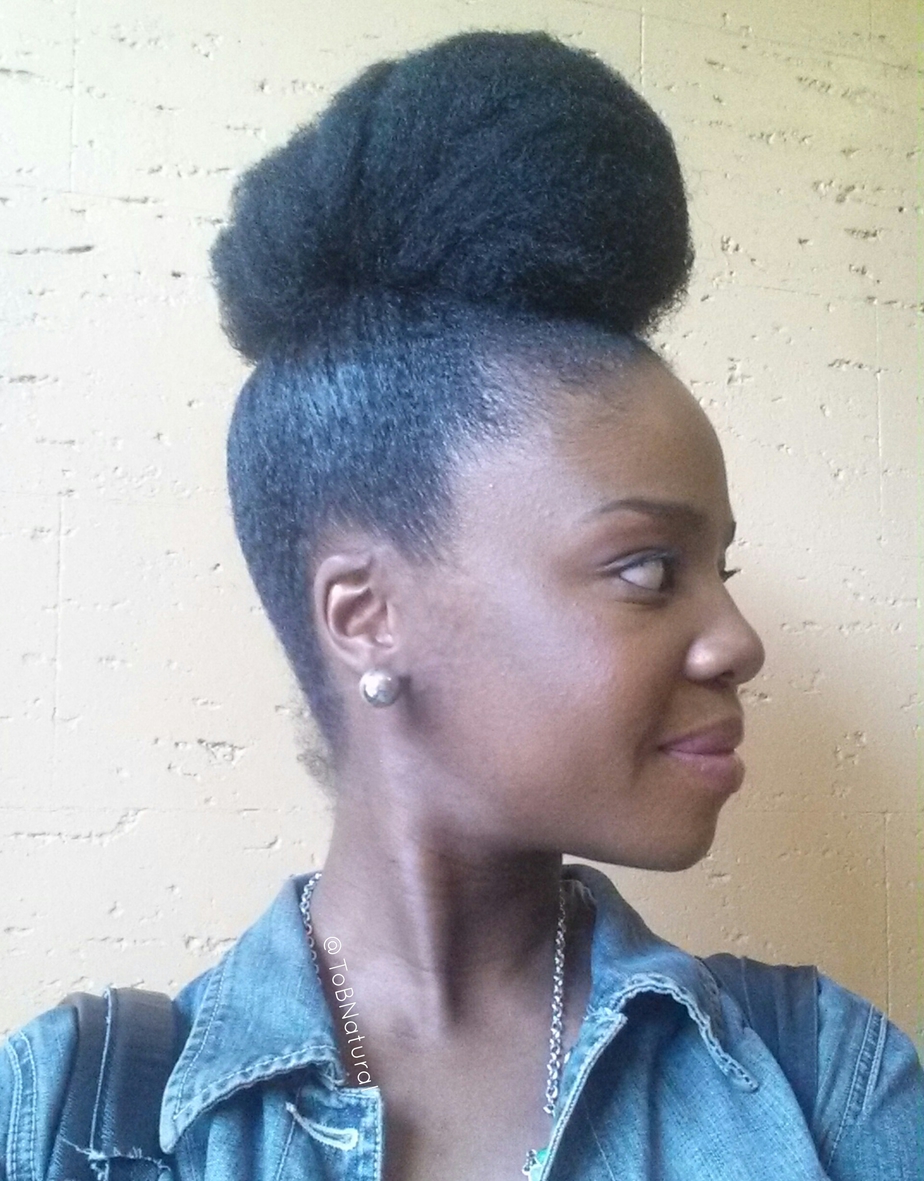
That’s it!
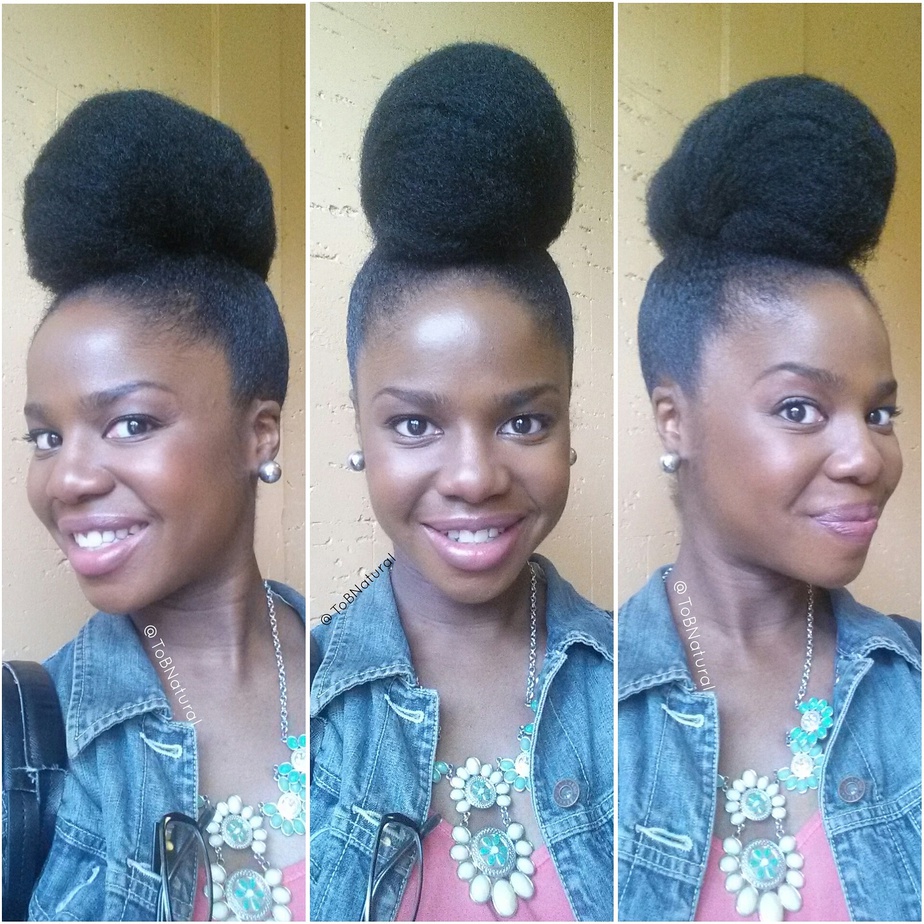
After my official photo shoot, I had a little shoot of my own. 🙂
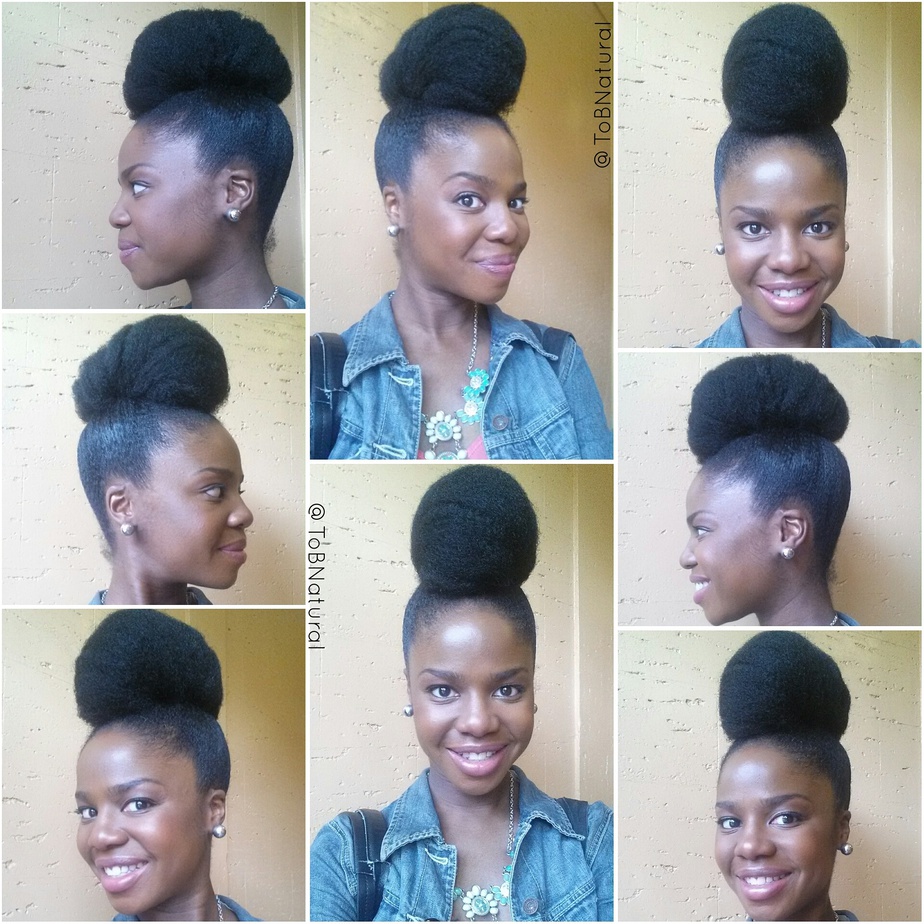 I had the baby the following Saturday and wouldn’t ya know it, my hair held up through labor and delivery! Of course it wasn’t as crisp with my edges laid and all but as long as the bun was intact, that was nothing a brush couldn’t fix. Thanks to said brush, a little spritz of water and tying down with a scarf, I was able to keep the style in for a full FOUR WEEKS!
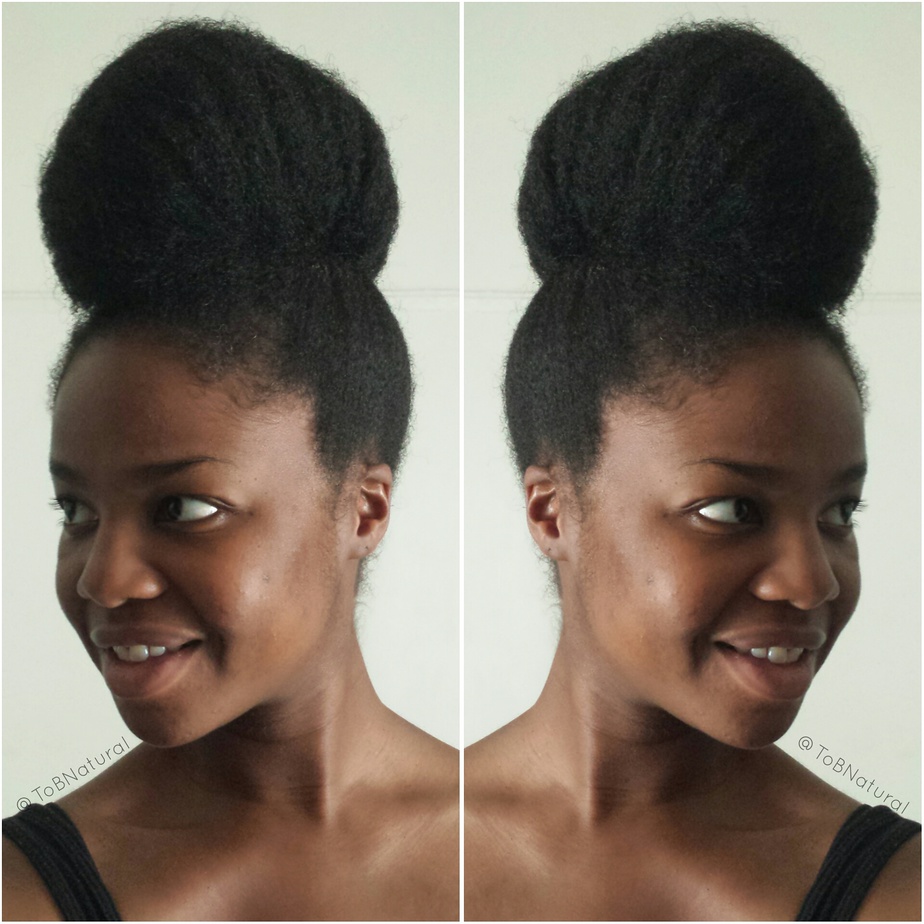 Good thing because between caring for a newborn and trying to catch some Zs, I was having no time to wash this head! Thank goodness for simple, low maintenance protective styles!
So, what do you think of my version of Cassandre’s bun? The thing about inspired looks is that you don’t have to make it look exactly like the original… that’s not the point. Cassandre’s do gave me an idea of what I could do with my own hair and I executed the style in my own way. That’s what I encourage you to do!
Think you’ll try this style for yourself? If you do, I’d love to see it! Tag me @tobnatural if you post on Instagram or share on my Facebook page!
Quick shout out to makeup artist Aziza Walker for the fresh face she gave me for the shoot!
Before we got started, she asked if I wore makeup daily. Being that I don’t, she gave me a natural look with light color so that I still looked like me… exactly what I wanted for my photos!
Next, we’ll talk about what I wore. Yay!
Xoxo,
Toia B.

2 Comments